SketchUp Basics
SketchUp, by Trimble, makes 3D visualization available to the layman. The intuitive drawing interface takes a lot of the frustration out of learning to model as well as making the process very efficient. SketchUp is optimized for modeling objects comprised of a lot of right angles (although it also simplifies angles and arcs). This makes it the ideal tool for woodworking and architectural visualization.
A wealth of howtos and videos exist, with many available from the SketchUp home page. These are a valuable resource and I encourage you to browse them and get a feel for what is available. This document is intended to be a task-specific guide to get you up and modeling a physical structure for visualizing new construction, remodeling, or just playing with a concept.
Basic Modeling
Your first time into SketchUp, you will see an empty scene, with three colored axes and a 2D cardboard cutout of a person at the origin. Those axes are key to everything you will do in SketchUp. Let us draw a simple cube.
Select the line tool from the toolbar. Click anywhere on the ground plane to start drawing a line. You will see the line follows your cursor. As you move the cursor around, it will snap to a line parallel to the red, green, or blue axis. Move the cursor until it snaps along a green line.
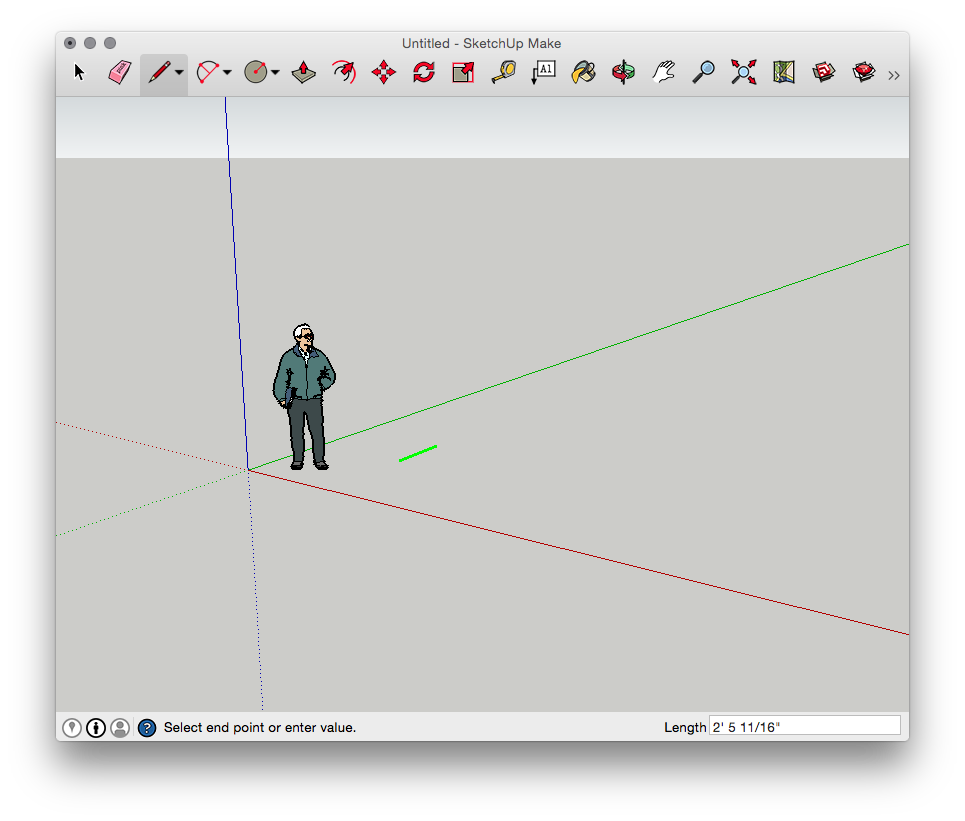
To make it exactly 50 units long, just type "50" (you will see it appear in the lower right "Distance" input box. Then press "Enter". You have just created your first edge. The line tool starts a new line from the end of the previous line. Now snap this new line to the red axis. To avoid having it un-snap, hold the "Shift" key while you move it along the red axis, you will notice the line is made bold while you hold "Shift".
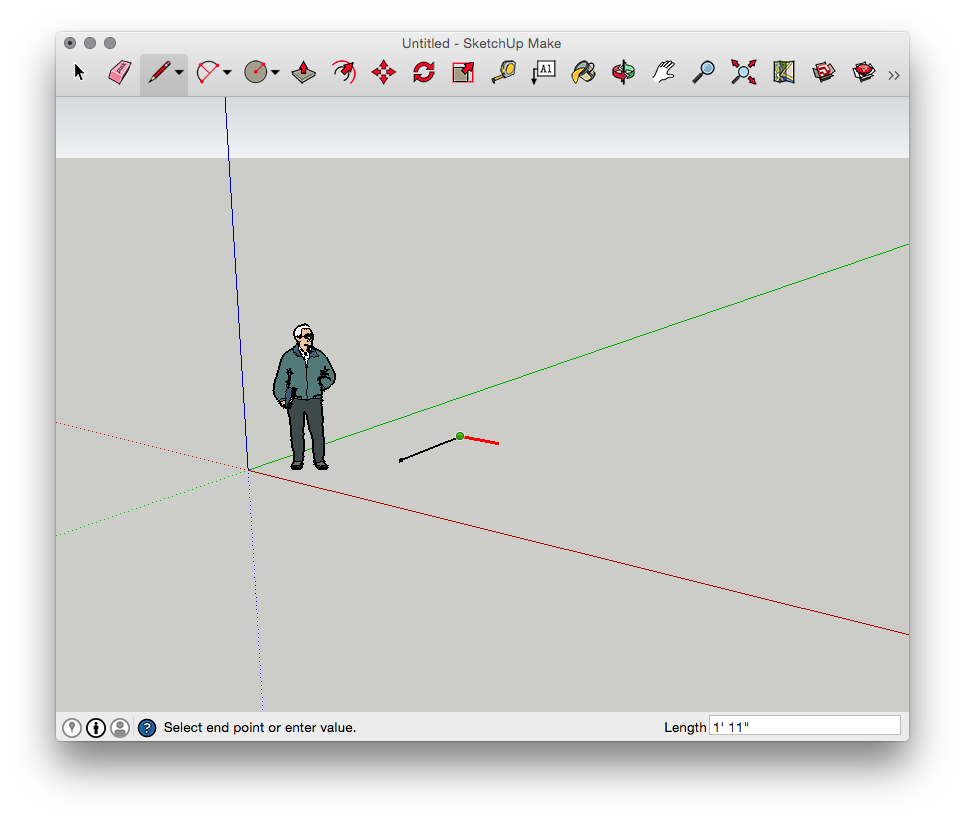
You could just type "50" now, but to illustrate the intuitive drawing tools, attempt to make the line same length as the previous line by moving the cursor along the red axis, it should snap at 50 and callout the length. Now click again to complete the line.
To draw the third edge, snap to the green axis, hold shift, and move toward the 50 unit length. Along the way, move your cursor to the parallel starting line and toward the starting point. You will see a red dotted line connect your line with the first line, this indicates the line is now aligned with the end of the first line along the green axis. Click to complete the line.
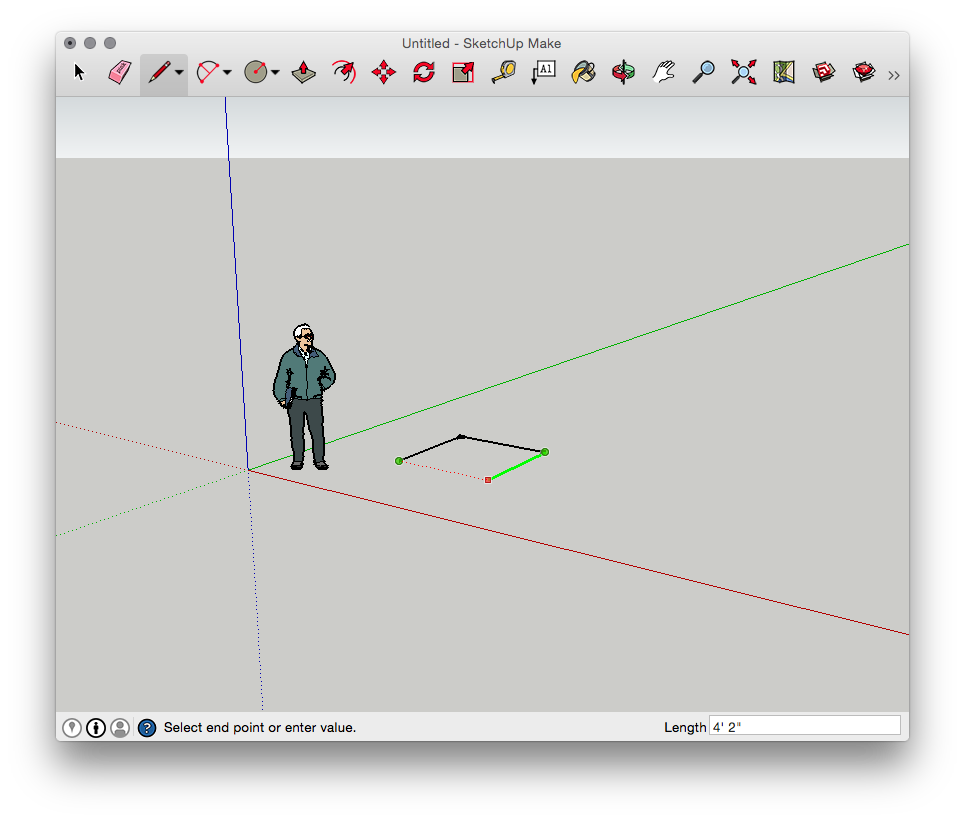
To finish the square, move the cursor until it snaps to the end point of the original line, then click. You will see a face form between the four edges.
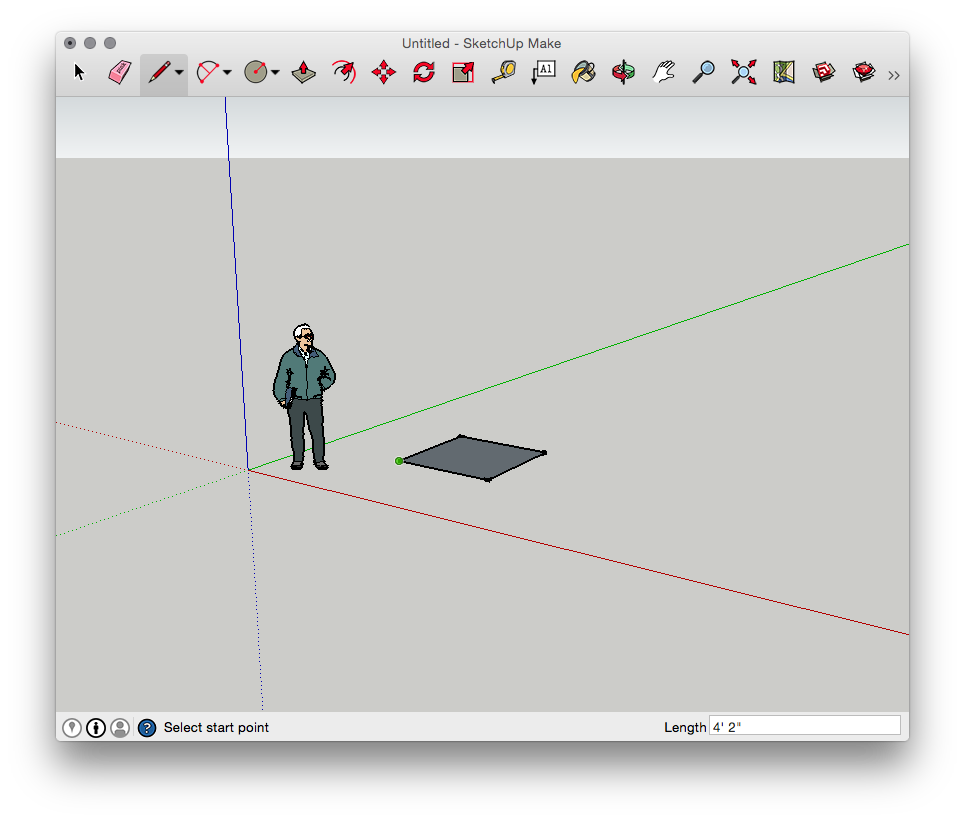
You could have used the square tool instead, but the point was not to create a square, it was to learn the snapping system.
To complete the cube, select the push/pull tool, click on the face and move up. You will see the face extrude into a 3D shape. Type "50" and press enter. You now have a cube made up of six 50x50 faces.
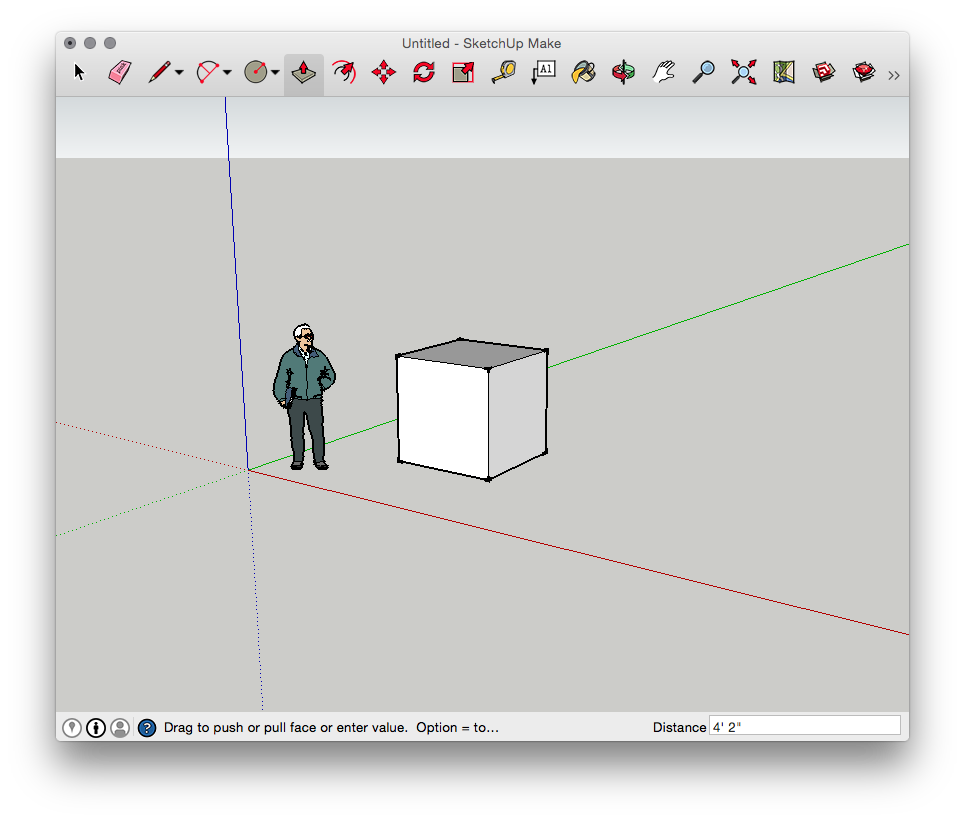
In addition to end points, you can also snap to the mid-point of an edge, or even the center of a face.
Everything else is just an extension of these basic principles. For example, let us extrude a 25 unit cube from the top face of the new cube. Select the offset tool and move the cursor to one of the edges on the top face, click and move the the newly created square toward the center of the top face. Type "12.5" and enter, this should leave you with a concentric square on the top face, half the size of the original.

Now select the push/pull again, select the smaller square, move upward, type "25" and enter. You should now have a 25x25 cube on top of the 50x50 cube. These are a single object.
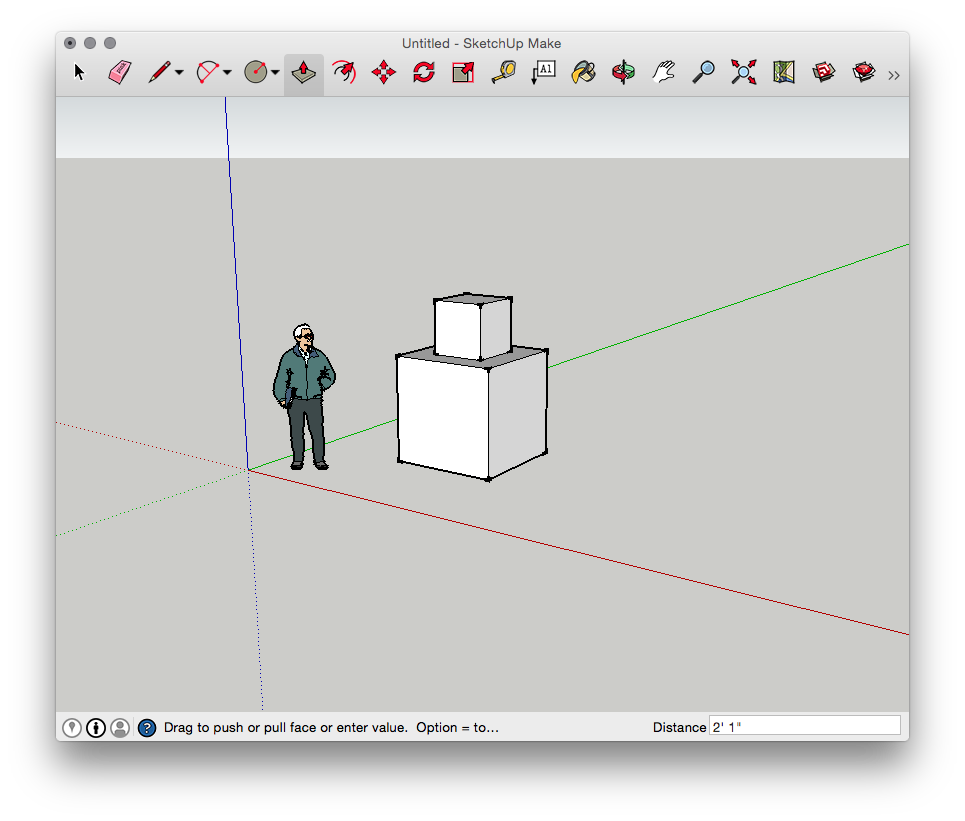
To illustrate a point, choose the select tool and click on a single edge. The edge will turn blue, indicating it is selected. Now choose the move tool, click on the edge and move it around. You will see the connected edges reshape to maintain the connection. Click anywhere and then under the change. The thing to note here is that when edges terminate at a common point, they become connected.
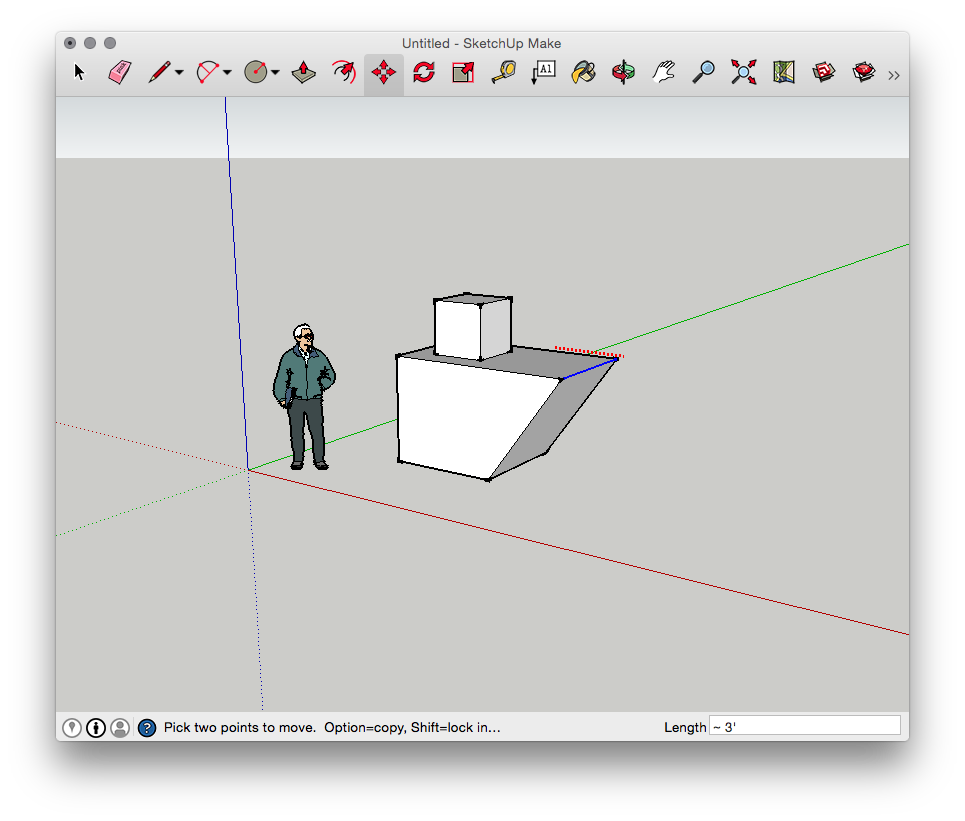
Points are created automatically when edges intersect other edges or faces.
This is good for modeling solid objects, but not so good when distinct objects touch each other. For example, if you were to create another face and place it in the same plane as our objects base, the base would intersect the plane and they would be fused together.
Groups
In order to organize your scene and to keep objects from fusing to one another, you can group them. If you have experience with a vector graphics application (such as Inkscape, Corel Draw, or Adobe Illustrator), the concept is pretty much the same.
Choose the select tool again. Click on any edge of the object, it will turn blue. Now right click on the edge and select Select all connected. The entire object, edges and faces, should now be blue.
Now right click and select Create Group. The selected edges and faces return to their normal color and a blue box now encompasses the entire object. Choose the move tool and click anywhere on the object. You will see the object moves as one now.
Using the line tool, draw a line starting from any corner of the object to 10 units in any direction away from the object. You will see that SketchUp will snap to the end point as it did before.
Now move either the line or the object. Notice that they did not stick together. This is because the object is separated from the rest of the scene by being contained in a group.
Use the copy and paste commands to create a copy of the object. You can use the same snapping techniques to locate the object in the scene.
To edit either object, double click on it. The rest of the scene will wash out and the blue outline box with turn to a dotted black outline. You are now "in" the group. Use the extrude tool to modify one of the faces. Note that only the object you are editing changed. The other object is unchanged.
When copying groups, a new independent object is created.
Components
It would be useful to be able to create objects that were not just independent copies of one another, but that came from the same template. This is done through what SketchUp calls components.
Delete one of the objects from the Groups exercise. Select the remaining object, right click, and choose Explode. This will remove the group container and restore the contents to the main scene.
Select all the edges and faces as we did in Groups. Right click, and instead of Make Group, choose Make Component. The result will look just like the group. The difference will become evident next.
Follow the same steps from Groups to make a copy of the object and edit one of the internal faces. This time you should see the face on both copies of the object move together. Any changes or additions you make inside the component container will affect every copy of the component in the scene.
You can make a copy of a component unique by selecting it, right clicking, and selecting Make Unique
Layers
As your scene grows in complexity, you will find it useful to organize it in a logical way, allowing you to limit the amount of visible geometry (for performance reasons as well as visual noise), as well as experiment with different ideas.
Layers in SketchUp allow you to place geometry, objects, and components in logical collections. You can then select which layers are visible at any given time using the Layers window.
I recommend assigning specific objects (groups and components) to layers rather than geometry elements. If you were to draw the object from Modeling and assign some of the edges to a different layer, you could modify the geometry of an invisible layer inadvertently because they are still connected, despite not being visible.
Keep all connected geometry on the same layer to avoid unintentional changes.
To change an objects layer, select it and open the Entity Info dialog. You can create a new layer simply by typing a new name in the Layer field.
To model or copy objects into a specific layer, open the Layers window and select the radio button by the layer you want.
To modify which layers are visible, toggle the checkbox by each layer in the Layers window.
Getting Around
SketchUp offers various tools to get around the scene. In order to view the other side of an object or just center an object in your screen. You will find Pan/Zoom [sic] and Helicopter [sic] mode in the toolbar, and Walkthrough [sic] in the menu. I do not use any of these very much. If you plan to spend more than about ten minutes with SketchUp, do yourself a favor and buy a six-axis 3D Space Navigator from 3D Connexion.
With a little practice, you will stop thinking about moving around the scene completely as it becomes second nature. Right hand on the mouse, left hand on the Space Navigator.
The 3D Space Navigator is the single most important accessory you can buy to improve your experience with SketchUp.
Advanced Modeling
TODO
- Alt Move
- Parallel snap
- Guides
- Temporary geometry
Footprint
Template
Before starting into modeling anything beyond our test shape above, we need to discuss scale and templates. SketchUp uses real-world units (inches and feet, centimeters and meters) as well as geographically accurate location in order to correctly cast sun generated shadows and optionally place your model in Google Earth.
Depending on your preference for metric or imperial units, select a SketchUp template designed for Architectural work. [sic]
While the math is all easier using metric units, there are times when imperial units are the best choice. For example, if you are working with local suppliers and tradespeople who work exclusively in imperial units, or if you have been brainwashed in the United States or United Kingdom into thinking imperial units are more intuitive.
Everything in your model will use real-world units, not scaled units. If you want to place a 1 meter by 1 meter cube in the scene, you will specify those dimensions exactly.
Measuring
Before getting started in SketchUp, you will need to either have scale drawings of your project or take the measurements yourself.
If you are doing it yourself, consider using a 2D CAD tool, like QCAD by Ribbonsoft. 2D CAD tools are useful for discussing purely structural concepts with tradespeople.
Regardless of if you are using CAD or sketching on graph paper, when you take your measurements, here are a few things to keep in mind.
First, start your measurements using the largest whole measurements possible. This could be the total width of the structure, for example. From there, rather than measure each segment individually, use the story pole method and tick off each segment in a running total without moving the tape measure. For example, if you have a 15 foot wide wall with two doors, your story pole might read like this (in inches): 0 - 29 - 65 - 95 - 131 - 180, as opposed to 29, 36, 30, 36, 49. This is especially important when using fractional imperial units where minor rounding errors can add up after several measurements.
Houses are also full of hidden spaces, so if you assume a wall is the usual 4.5 inches wide, you will be off by 2 inches if it happens to be a wet wall.
Second, while accuracy is important, avoid trying to make it more accurate than it really is.There is a saying among contractors: "There is no such thing as a sixteenth of an inch". The point here being that there is enough variation in the real world between home settling, moisture expansion, layers of paint, and imperfection in materials, that trying to get any more accurate than a sixteenth of an inch is an exercise in futility. The corollary to this rule is: "There is no such thing as a square corner or a plumb wall." Even in a perfectly constructed home, the interior corners are obtuse due to the mud and tape finishing process.
Be as accurate as possible in your measurements, but no more than that.
Geolocation
Google Terrain
Axes
Modeling
Never model with geometry what you can accomplish with a texture. The corollary for SketchUp is to never model yourself what you can lift from the 3D Warehouse.
Raising the Floorplan
Windows and Doors
Trim
Follow-me tool…
